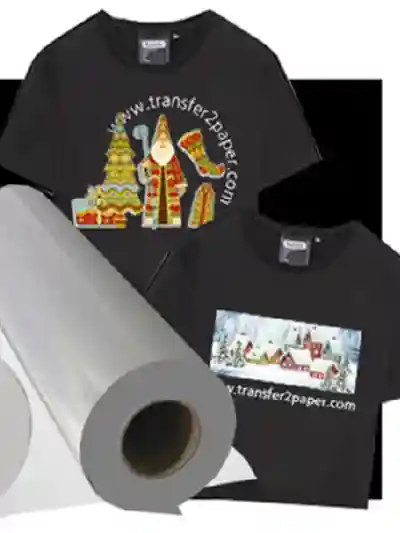
Eco solvent printable vinyl comes into use when there are always some designs that are too complex to create with the non printable HTV available in the market. You have to print the designs yourself. This can be done using the solvent inks on printable Heat Transfer Vinyl. The type of ink and vinyl material we’ll discuss in this piece are eco solvent ink and eco solvent heat transfer vinyl for your custom design clothing.
Eco Solvent Ink
Eco-solvent came into being when the demand for more user-friendly inks rose. The solvent ones were stronger and more aggressive. Hence, these inks are less toxic and can even be used in office spaces as long as there is adequate ventilation. Eco-solvent ink can print on many materials but takes more time to dry. They show resistance to water, color loss, etc for about 2-3 years. It’s widely used in advertisment industry and clothing industry.
Printable Heat Transfer Vinyl
To make the custom printable HTV design, the next thing you need is a printable HTV. One thing to notice is that this vinyl is not compatible with a normal at-home desktop printer. It works with printers that use eco-solvent or latex inks i.e. printable HTV requires a wide-format printer. Hence, the initial investment is high as compared to just use the heat transfer vinyl.
Seaart heat transfer offers various heat transfer printable vinyl for clothing. If you want thicker one, suggest to use S1701 PVC (Polyvinyl Chloride) heat transfer vinyl, it’s 140 micron and not so much stretchy. It can be printed quite easy and fresh colors. After printing, cutting, you can simply heat press it on Clothing or bags, caps. If you want more soft and thinner one, suggest to use S1703 PU (Polyurethane) printable heat transfer vinyl, it’s only 80 micron and quite soft. We addes tiny sticky on the PET backing and it’s more easy to cut by plotter and weed. If you want cheapest printable vinyl, suggest to use S1702 printable vinyl, it’s PU 80 micron with paper backing and cost very good for bigger printable designs.
Using Eco-Solvent printable Vinyl for t-shirts
The steps to use this type of HTV varies in just the way the vinyl patch is prepared. The part of pressing it on the shirts is quite similar to the regular HTV.
1. Firstly, you need to create the design that needs to go on the t-shirt digitally. This step is the main advantage here. As we need to pile and create in regular heat transfer vinyl, such is not the case with printable HTV. So, create with as many colors and patterns as you like.
2. Next, you have to print the design on the printable Heat transfer vinyl using the eco solvent printers. Common brands used in the industry include Mimaki, Roland, and Mutoh. Epson and HP also manufacture them. Printable HTV is often printed on using a full CMYK color process that uses special inks such as Solvent or Eco-Solvent ink.
3. Then you need to cut and weed the printed pattern using your vinyl cutter. You need to do this step carefully. There are some desktop plotter like cricut, cameo. If you are a workshop, suggest to use at least 24″ industry vinyl plotter and it’s 0-1000 gross pressure and easy to adjust to meet various thickness printable vinyls.
4. After cutting and weeding the patch, you need the clear sheet (release tape or transfer tape) to transfer and press it onto the t-shirt. So, place the vinyl patch onto the clear sheet. Also you need to pay attention to add heat transfer tape. Some material we can print, cut and weed, then add release tape to haet press on t-shirts. Some material like (paper backing S1702 printable vinyl, we must print, cut, add releae tape first before weeding so to make it easier to weed. Check more with seaart team.
5. Now get your press-ready and pre-press the t-shirt to remove any moisture and get the wrinkles out.
6. Now, if you see your vinyl patch, it has a white sheet on its backside, this is the side that has adhesive on it, which melts and sticks when heated. Therefore, remove the white sheet from your vinyl patch and place it on the t-shirt, Adhesive side first.
7. Now, press it at about 150°C(300°F) for 10-15 seconds using medium pressure. Make sure the pressure evenly at all the places.
8. Let the t-shirt cool down and then peel the clear sheet away. Now press it again for 5 seconds using a Teflon sheet or a Teflon-covered. It would be more firm on t-shirt.
Voila! Your very own eco-solvent printable vinyl T-shirt is ready.

Leave a Reply